Microsoft Stream is a Video Hosting service within the TED University Office 365 service. You can consider this service as a private Youtube for TED University where you can control access to videos by group authorisations.
Contents
- Policy and Guidelines for Microsoft Stream
- Setup Member Contribution in Microsoft Stream
- Add / Remove Members
- How to record your Zoom session?
- Upload your video to Microsoft Stream
- Adding Microsoft Stream course group link to Moodle
Policy and Guidelines for Microsoft Stream
- Policies and Terms of Use for Technology at TED University
- Personal Data Protection Regulation Guidelines for Class Session Recordings: Recordings made of class sessions can only be made available to the faculty teaching that specific class and those enrolled in that class only! Open consent has to be taken from students at the beginning of the semester.
- TED University reserves the right to restrict or remove content at its discretion.
Do These
- Consider your audience: global, professional, time-constrained, and future viewers as well as now
- Post short videos: Respect the time the viewers are giving to your video and try not to waste it
- Protect your brand: nothing is anonymous so be aware of what the content will say about you
- Keep private content private: If it does not need to be seen by everyone, restrict it to only those who should see it
- Abide by the policies: See the above policies
- Ask if you have any questions: Please ask the CTL and IT teams if you have any questions or concerns
Avoid These
- Violating Copyright: If you or TED University do not own the rights, don't post the content, period.
- Profanity or obscene content
- Oversharing: Microsoft Stream is not a personal service, TED University owns the content.
Setup Member Contribution in Microsoft Stream
- Open a web browser of your choice, and navigate to https://portal.office.com
- Sign in with your campus email address and password
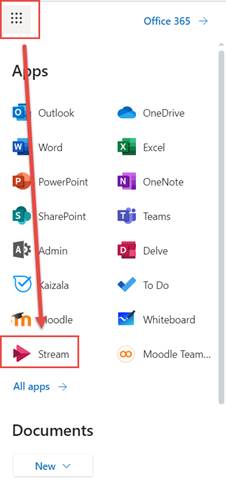
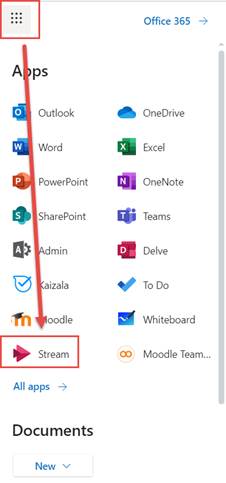
- Click on the Stream button on left panel. If you do not see the Stream button click the All Apps link, scroll down to the Stream option
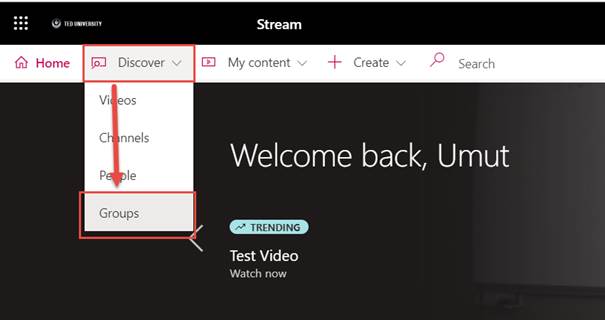
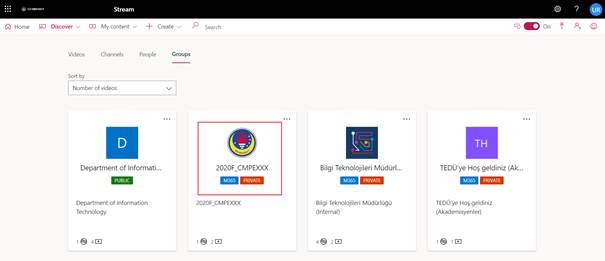
- Click on the “Discover” and then “Groups” menu
- Find the group created specifically for your course/section. The group naming convention is similar to the Moodle course naming convention. Note: Each section of a course has a separate group. Asynchronous copies of live classes and other asynchronous materials need to be shared for each section separately even if the Moodle courses has been merged for several sections.

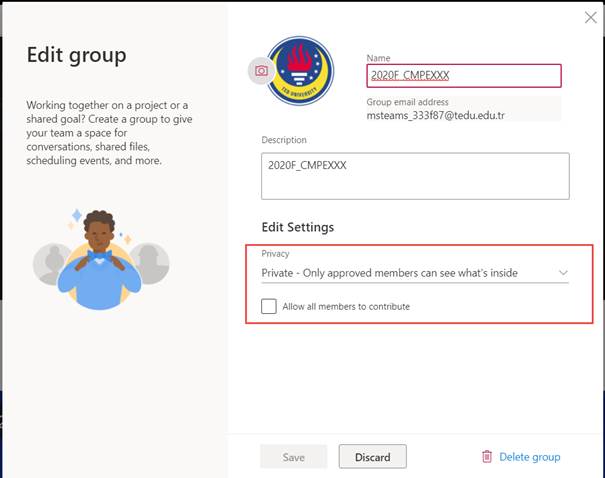
- Click on group name to manage group. Click on the gear icon and then click on edit.
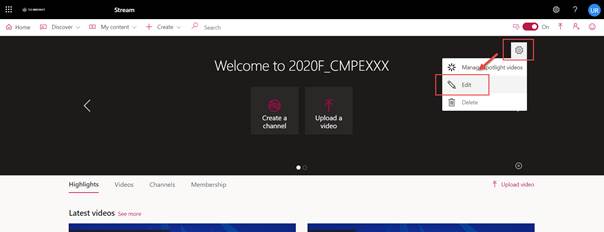
- Keep the privacy level of the group as “Private – Only approved members can see what’s inside” and uncheck “Allow all members to contribute”. This setting will allow yourself as the owner of the group to be able to upload or edit/delete videos but will not allow students as members of the group to upload or edit/delete videos. On the other hand students will still comment or like videos. This setting is a one time setting that has to be completed at the beggining of the semester.
Add / Remove Members
Microsoft Stream groups will be created by the Information Technology Department at the beginning of the semester.
On the other hand, since there is no automated synchronization available between SAP or Moodle with Microsoft Stream, the group members will be updated by the Information Technology Department 2 times within a semester, one at the end of the course registrations and one at the end of add-drop period.
Please follow below steps if you require to add your TA or RA’s to the group or add/remove an additional students which is not updated during the mass update by IT.
- Open a web browser of your choice, and navigate to https://portal.office.com
- Sign in with your campus email address and password
- Click on the Stream button on left panel. If you do not see the Stream button click the All Apps link, scroll down to the Stream option

- Click on the “Discover” and then “Groups” menu

- Find the group created specifically for your course/section. The group naming convention is similar to the Moodle course naming convention. Note: Each section of a course has a separate group. Asynchronous copies of live classes and other asynchronous materials need to be shared for each section separately even if the Moodle courses has been merged for several sections.

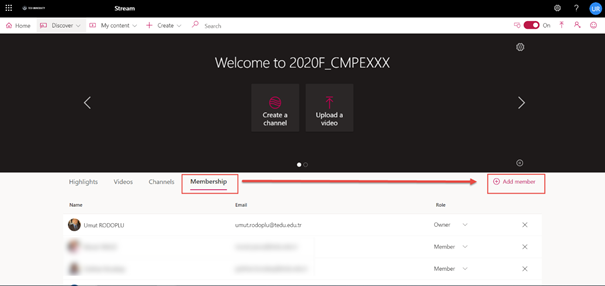
- Click on group name to manage group. Click on “Membership” tab and click “Add Member”.
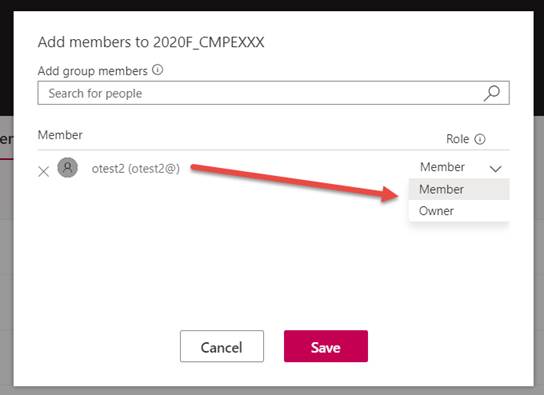
- Search for people, enter to add and select the role. Then save.
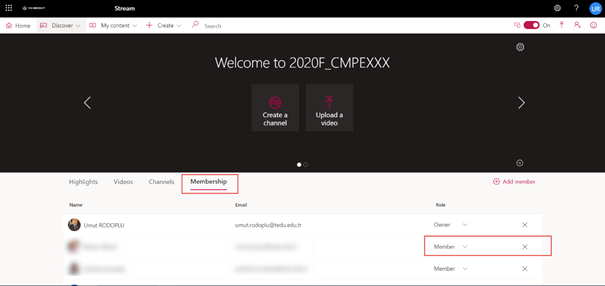
- If you would like to remove a member or change role, just click on the cross near the name or change the role from dropdown.
How to record your Zoom session?
- Personal Data Protection Regulation Guidelines for Class Session Recordings: Recordings made of class sessions can only be made available to the faculty teaching that specific class and those enrolled in that class only! Open consent has to be taken from students at the beginning of the semester.
- After you start your online session within Zoom, you can start recording your session by clicking the record button on the zoom panel and select “Record on this Computer”. Since Zoom has a limited quota for cloud recording it is advised to store the recordings first on your computer before uploading to Microsoft Stream.

- When you start recording you will see the below notification at the top left corner of the screen. You can pause or stop the recording whenever you like.
![]()
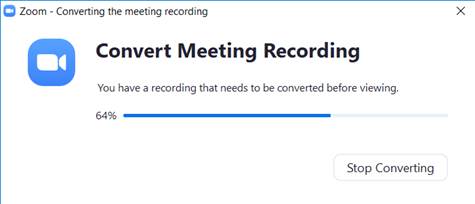
- After you end the meeting a conversion process will start to store the recording on your computer. Please wait for the conversion process to finish and the relevant folder containing the recording will automatically appear on your computer.
Upload your video to Microsoft Stream
- Open a web browser of your choice, and navigate to https://portal.office.com
- Sign in with your campus email address and password
- Click on the Stream button on left panel. If you do not see the Stream button click the All Apps link, scroll down to the Stream option

- Click on the “Discover” and then “Groups” menu

- Find the group created specifically for your course/section. The group naming convention is similar to the Moodle course naming convention. Note: Each section of a course has a separate group. Asynchronous copies of live classes and other asynchronous materials need to be shared for each section separately even if the Moodle courses has been merged for several sections.

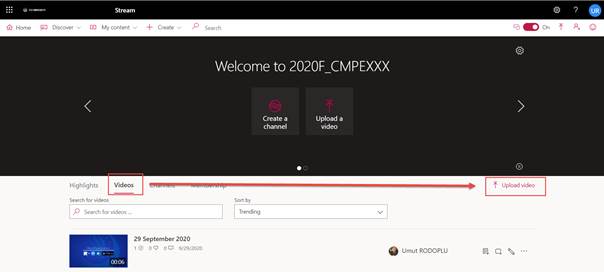
- Click on group name to manage group. Click on “Videos” tab and click “Upload Video”.
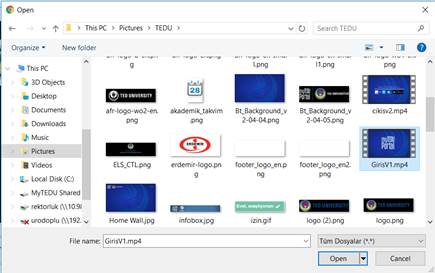
- Select the relevant file on your computer and click “Open”
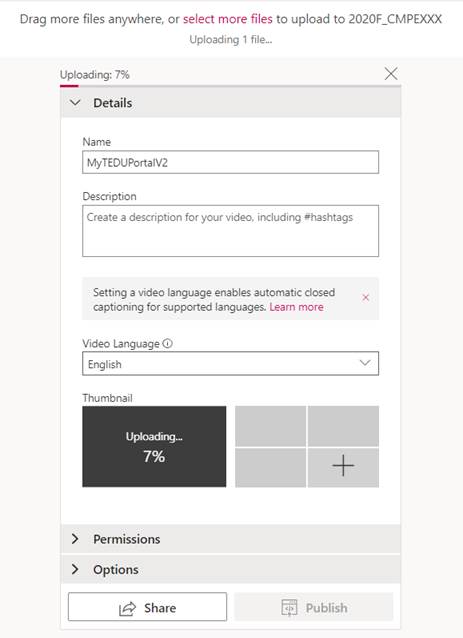
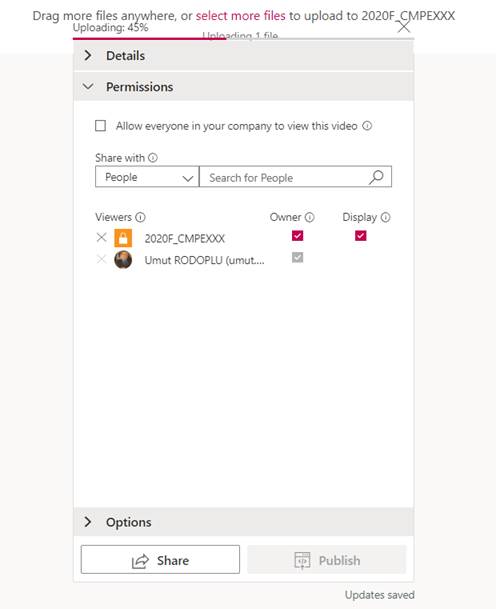
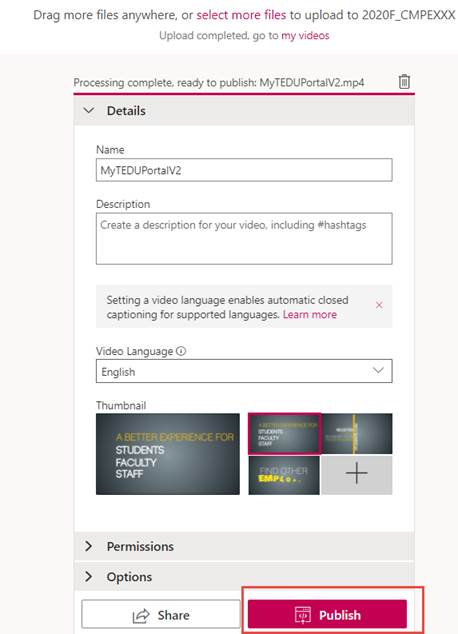
- Wait for the file to uploaded into the system. You can change the name of and add a description to the file. The permissions part will already include the current group and you do not need to make any changes there unless you want additional people to access the content.
- After the upload has finished click on “Publish”. It may still take some time for you to see the content on the Group page becaouse of the Microsoft Stream conversion process. You will get an automated notification email after the conversion has finished.
Adding Microsoft Stream course group link to Moodle
- Open a web browser of your choice, and navigate to https://portal.office.com
- Sign in with your campus email address and password
- Click on the Stream button on left panel. If you do not see the Stream button click the All Apps link, scroll down to the Stream option
- Click on the “Discover” and then “Groups” menu

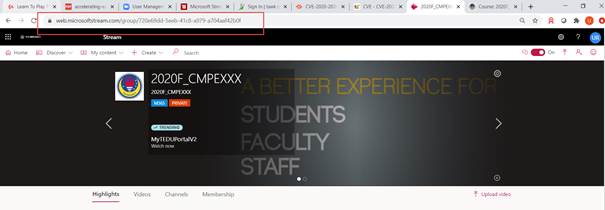
- Find the group created specifically for your course/section. The group naming convention is similar to the Moodle course naming convention. Note: Each section of a course has a separate group. Asynchronous copies of live classes and other asynchronous materials need to be shared for each section separately even if the Moodle courses has been merged for several sections.
- Click on group name to manage group. Copy the URL from the adress bar of your browser.
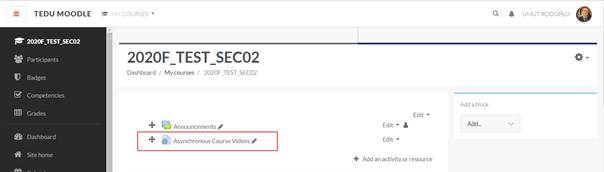
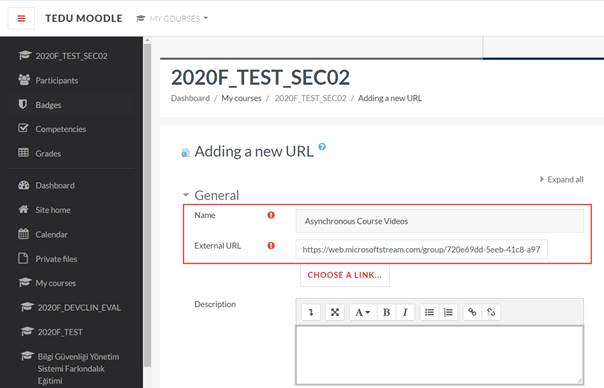
- Login to Moodle and find your course. Add an activity to the top section of the course. Choose “URL” as activity type and click “Add”

- Paste the URL to “External URL”, add a name and click “Save and return to the course”
- Your Microsoft Stream content can now be accessed by students clicking on the link. Students can also access content directly through Office 365 Portal and Microsoft Stream but this URL will help them find their way to access course material easily.